Demystifying the Warzone 2 DMZ Key Map: A Comprehensive Guide
Related Articles: Demystifying the Warzone 2 DMZ Key Map: A Comprehensive Guide
Introduction
With enthusiasm, let’s navigate through the intriguing topic related to Demystifying the Warzone 2 DMZ Key Map: A Comprehensive Guide. Let’s weave interesting information and offer fresh perspectives to the readers.
Table of Content
Demystifying the Warzone 2 DMZ Key Map: A Comprehensive Guide

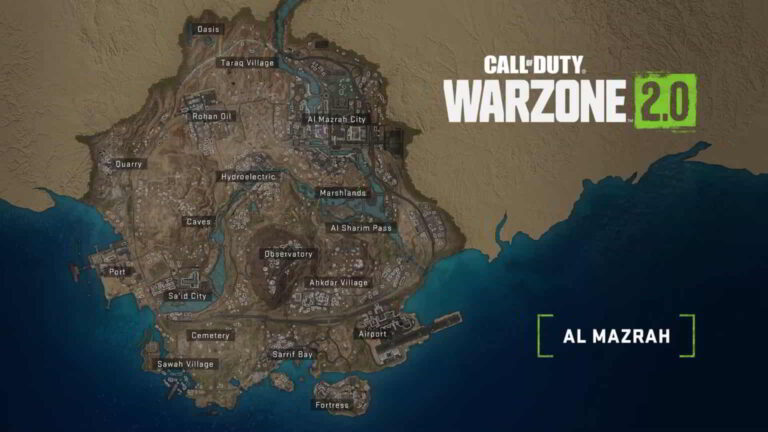
The Warzone 2 DMZ mode presents players with a unique challenge: infiltrate a hostile environment, complete objectives, and extract with valuable loot, all while navigating a complex landscape and facing fierce opposition. To succeed in this high-stakes game, a thorough understanding of the DMZ map is crucial. This article delves into the intricacies of the DMZ map, highlighting its significance and providing valuable insights for players seeking to master this immersive mode.
Understanding the DMZ Map: A Foundation for Success
The DMZ map, a sprawling and dynamic environment, serves as the battleground for players’ missions. Its intricate layout, populated with diverse locations and points of interest, presents both opportunities and challenges. Navigating this complex landscape effectively is paramount to achieving mission objectives and securing a successful extraction.
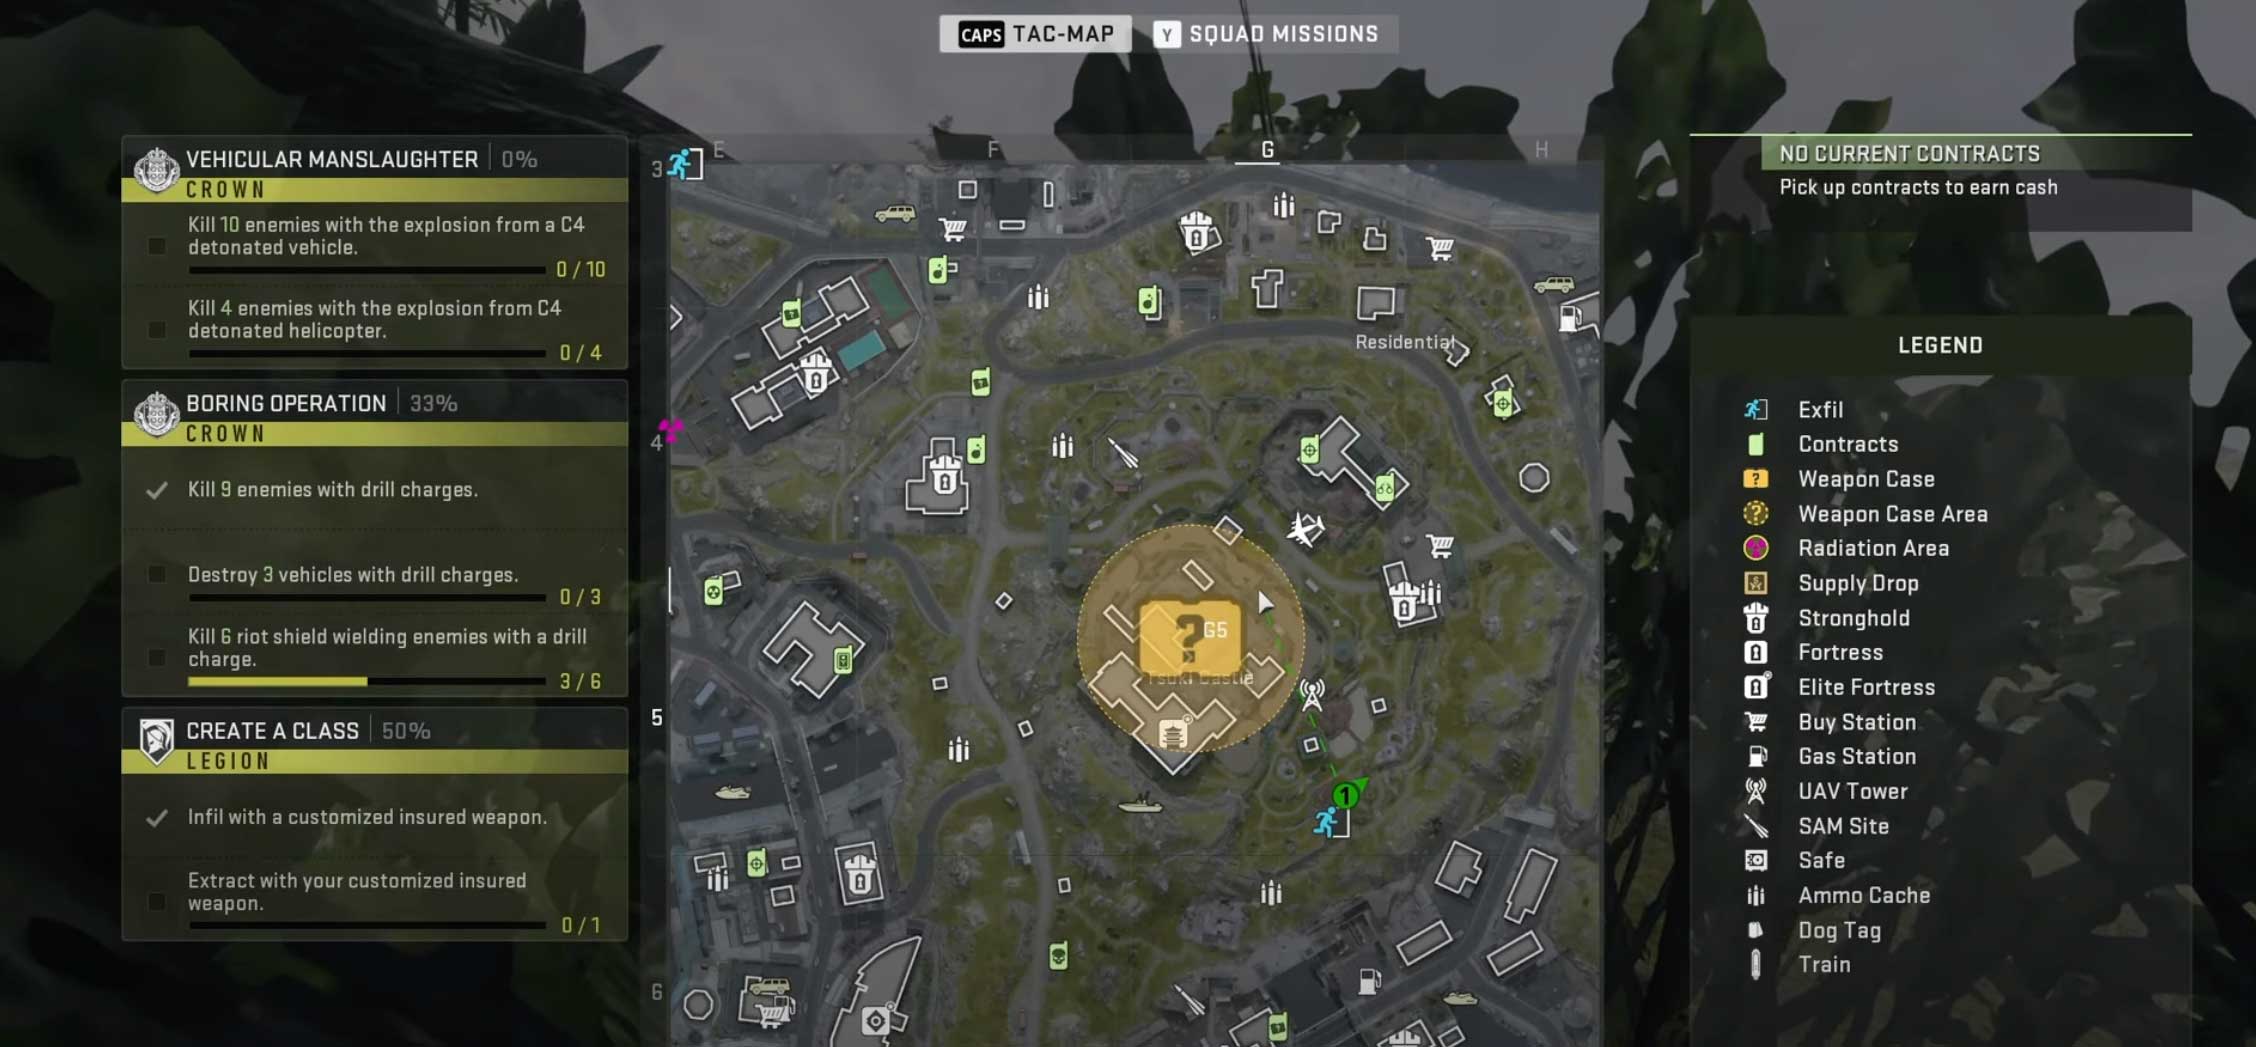
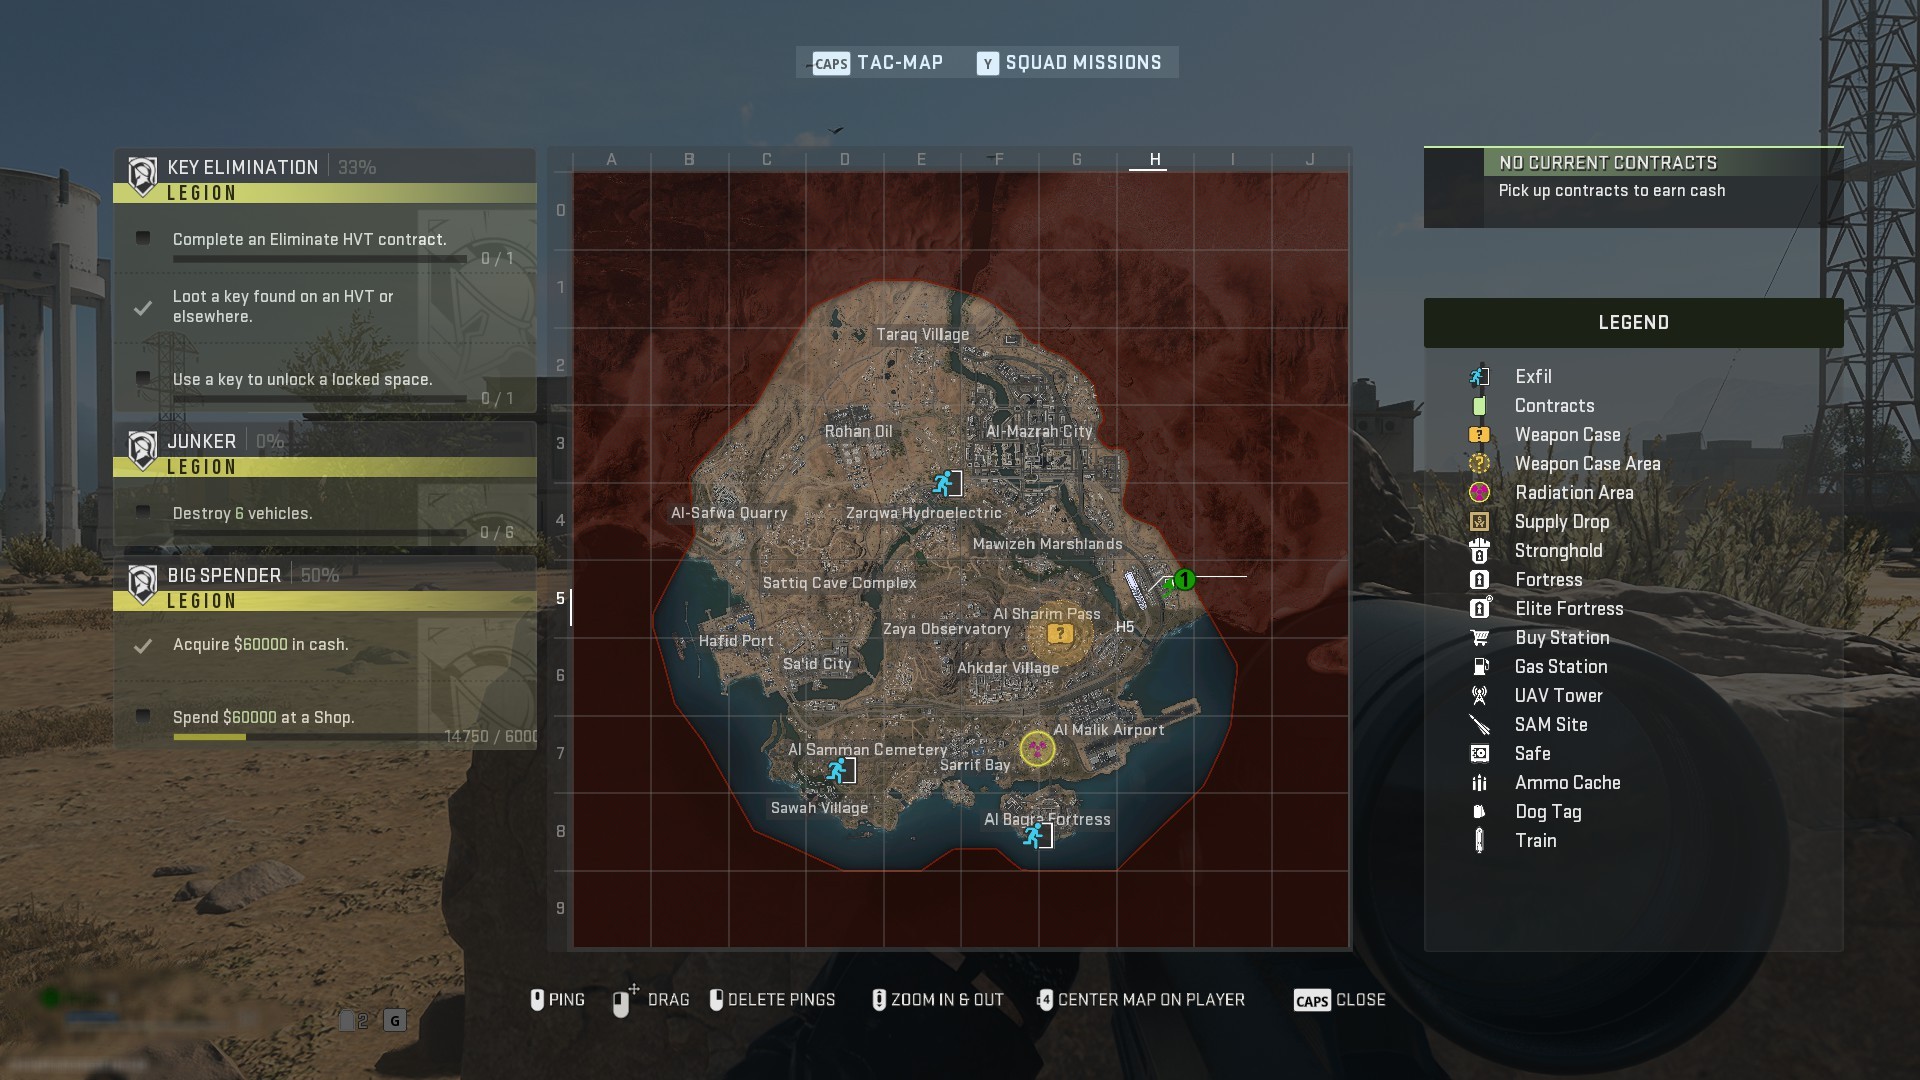
Key Map Elements: Unveiling the Layers of the DMZ
The DMZ map comprises various key elements, each playing a vital role in the gameplay experience. Understanding these elements and their interactions is essential for strategic decision-making and maximizing player success.
1. Points of Interest (POIs): Strategic Hubs and Mission Sites
Points of Interest, scattered throughout the map, serve as focal points for player activity. These locations offer a variety of resources, objectives, and potential encounters. Understanding the layout and significance of each POI is crucial for planning missions, securing valuable loot, and anticipating enemy movements.
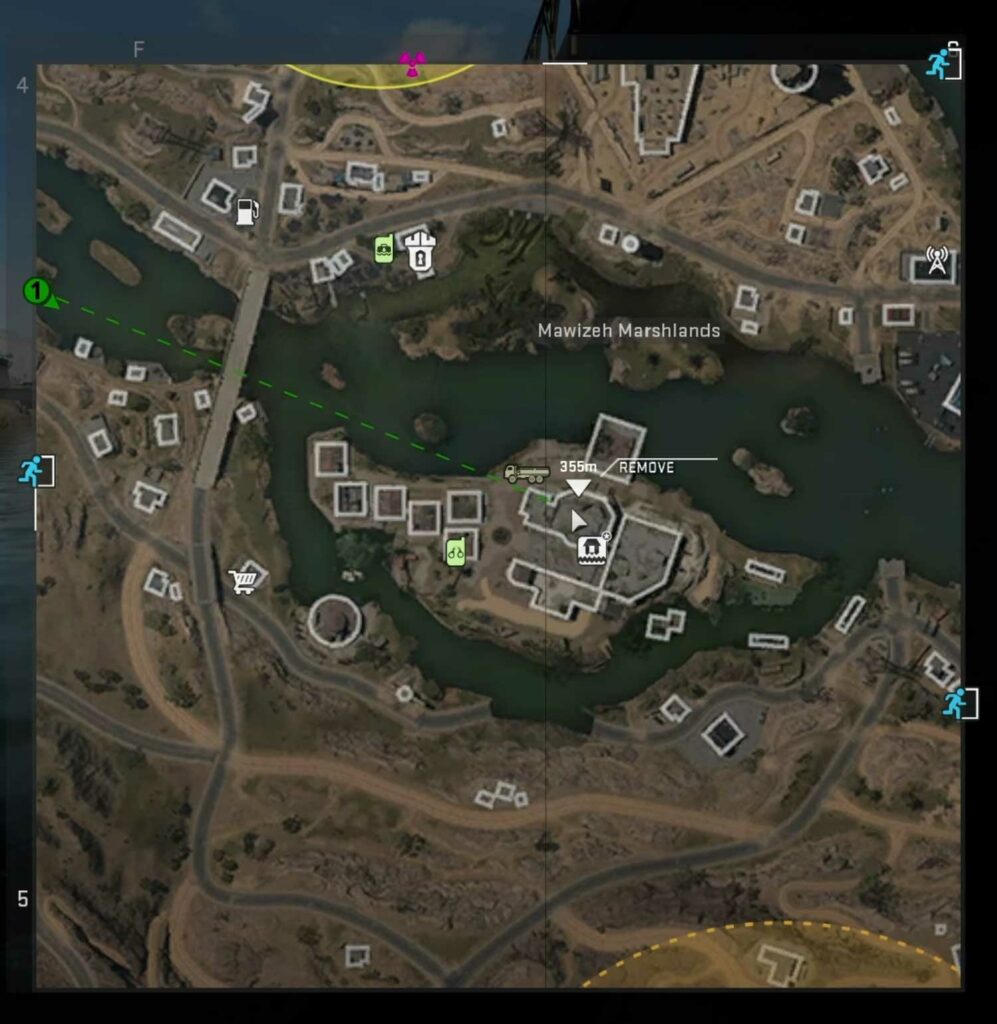
a. Strongholds: Fortified Bases and High-Value Targets
Strongholds, fortified bases guarded by AI opponents, represent a significant challenge and reward. These locations house valuable loot and serve as key objectives in various missions. Successfully conquering a stronghold requires strategic planning, coordinated teamwork, and a deep understanding of its layout and defensive mechanisms.
b. Buy Stations: Re-equipping and Respawning
Buy Stations, strategically positioned throughout the map, offer players the opportunity to purchase equipment, weapons, and even revive fallen teammates. Utilizing these stations effectively can significantly impact the outcome of a mission, providing vital resources and a strategic advantage.
c. Safe Houses: Secure Retreats and Strategic Hubs
Safe Houses, designated areas scattered across the map, provide a haven for players to regroup and plan their next move. These locations offer a safe space to heal, rearm, and strategize, crucial for navigating the unpredictable nature of the DMZ.
2. Missions: The Core of the DMZ Experience
Missions, the driving force behind the DMZ experience, provide players with a variety of objectives to complete. These missions range from simple tasks like collecting specific items to more complex objectives like infiltrating strongholds or rescuing hostages. Successfully completing missions earns players valuable rewards and unlocks access to new content and challenges.
3. Faction Missions: Aligning with the Forces of Al Mazrah
Faction Missions, offered by various factions operating within the DMZ, provide players with a structured path to progress and unlock unique rewards. These missions often require players to complete specific tasks or objectives, contributing to their reputation with the chosen faction and unlocking exclusive benefits.
4. Extraction Points: The Gateway to Success
Extraction Points, strategically located around the map, represent the final stage of a successful DMZ mission. Reaching an extraction point with valuable loot and completing all mission objectives allows players to secure their gains and return to the safety of their home base.
5. Environmental Hazards: Navigating the Perils of Al Mazrah
The DMZ map is not without its dangers. Environmental hazards, ranging from toxic gas zones to unpredictable weather patterns, add another layer of complexity to the gameplay experience. Understanding these hazards and navigating them effectively is essential for survival and mission success.
The Importance of the DMZ Map: A Strategic Advantage
The DMZ map serves as the foundation for the entire gameplay experience. Its intricate layout, diverse locations, and dynamic elements create a challenging and rewarding environment for players to explore and conquer. A thorough understanding of the map’s intricacies is crucial for navigating its challenges, securing valuable loot, and achieving mission objectives.
FAQs: Addressing Common Concerns and Questions
1. What is the best way to learn the DMZ map?
The most effective way to learn the DMZ map is through consistent gameplay. Familiarize yourself with the map’s layout, key locations, and points of interest through exploration and repeated missions. Utilize resources like interactive maps and guides to gain a deeper understanding of the map’s intricacies.
2. How can I use the map to my advantage in missions?
Understanding the map allows for strategic planning and execution. Identify key locations relevant to your mission objectives, anticipate enemy movements, and utilize the map’s features to your advantage. Consider utilizing safe houses for regrouping, Buy Stations for re-equipping, and strategic positioning to maximize your chances of success.
3. What are some common mistakes players make when using the DMZ map?
Common mistakes include neglecting to familiarize oneself with the map’s layout, failing to utilize key locations effectively, and overlooking environmental hazards. Avoid rushing into missions without a plan, and prioritize understanding the map’s intricacies for optimal gameplay.
Tips: Mastering the DMZ Map for Enhanced Gameplay
1. Explore the Map Thoroughly: Dedicate time to exploring the map’s various locations, identifying points of interest, and understanding the layout. Familiarize yourself with strategic routes, potential ambush points, and safe havens.
2. Utilize Interactive Maps and Guides: Take advantage of online resources like interactive maps and guides to gain a deeper understanding of the map’s intricacies. These resources provide valuable insights into key locations, objectives, and strategic routes.
3. Plan Missions Strategically: Before embarking on a mission, carefully analyze the map and identify key locations relevant to your objectives. Plan routes, anticipate enemy movements, and utilize the map’s features to your advantage.
4. Adapt to Dynamic Environments: The DMZ map is constantly evolving with new locations, objectives, and challenges. Be prepared to adapt your strategies and approaches to navigate the dynamic environment and seize opportunities.
Conclusion: Navigating the DMZ Map to Victory
The DMZ map, a complex and dynamic environment, plays a pivotal role in the success of every mission. Understanding its intricate layout, key locations, and strategic elements is essential for navigating the challenges, securing valuable loot, and achieving mission objectives. By mastering the DMZ map, players can gain a significant advantage, paving the way for successful extractions and ultimate victory.


Closure
Thus, we hope this article has provided valuable insights into Demystifying the Warzone 2 DMZ Key Map: A Comprehensive Guide. We hope you find this article informative and beneficial. See you in our next article!