Kayo: A Comprehensive Analysis of Agent Strengths Across Valorant Maps
Related Articles: Kayo: A Comprehensive Analysis of Agent Strengths Across Valorant Maps
Introduction
With enthusiasm, let’s navigate through the intriguing topic related to Kayo: A Comprehensive Analysis of Agent Strengths Across Valorant Maps. Let’s weave interesting information and offer fresh perspectives to the readers.
Table of Content
Kayo: A Comprehensive Analysis of Agent Strengths Across Valorant Maps
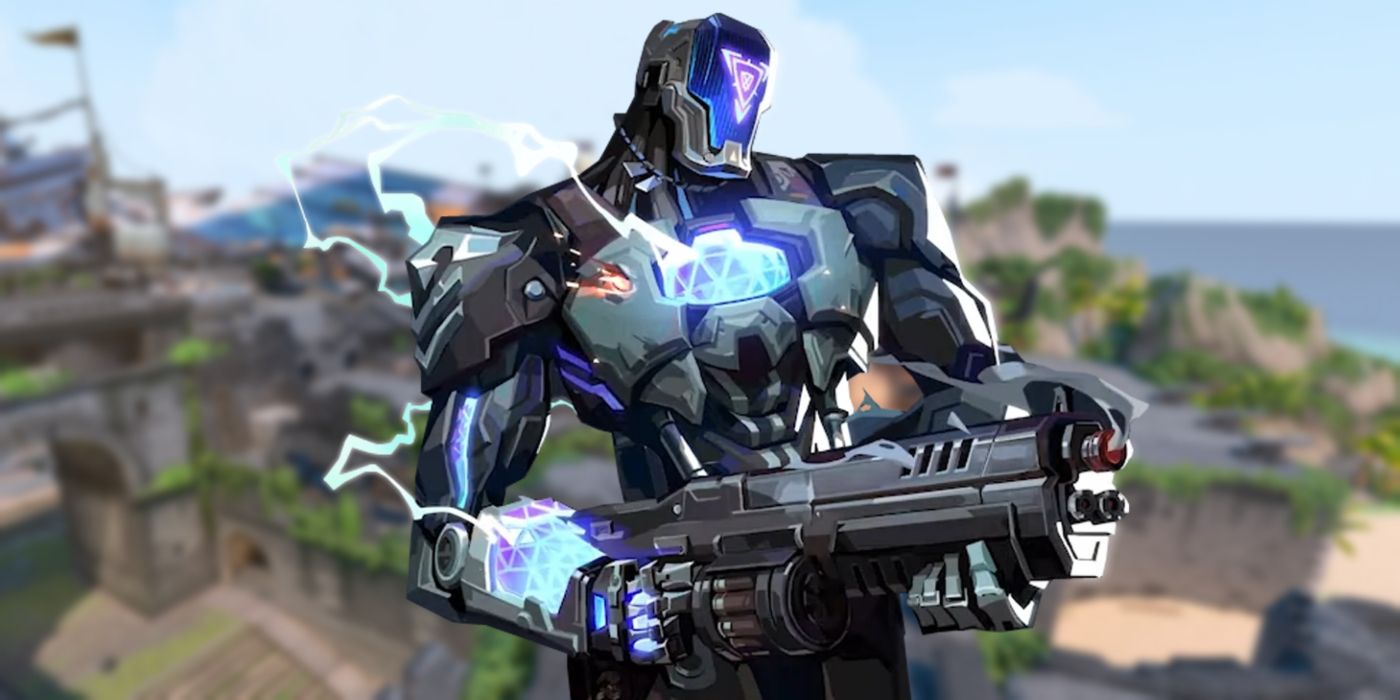
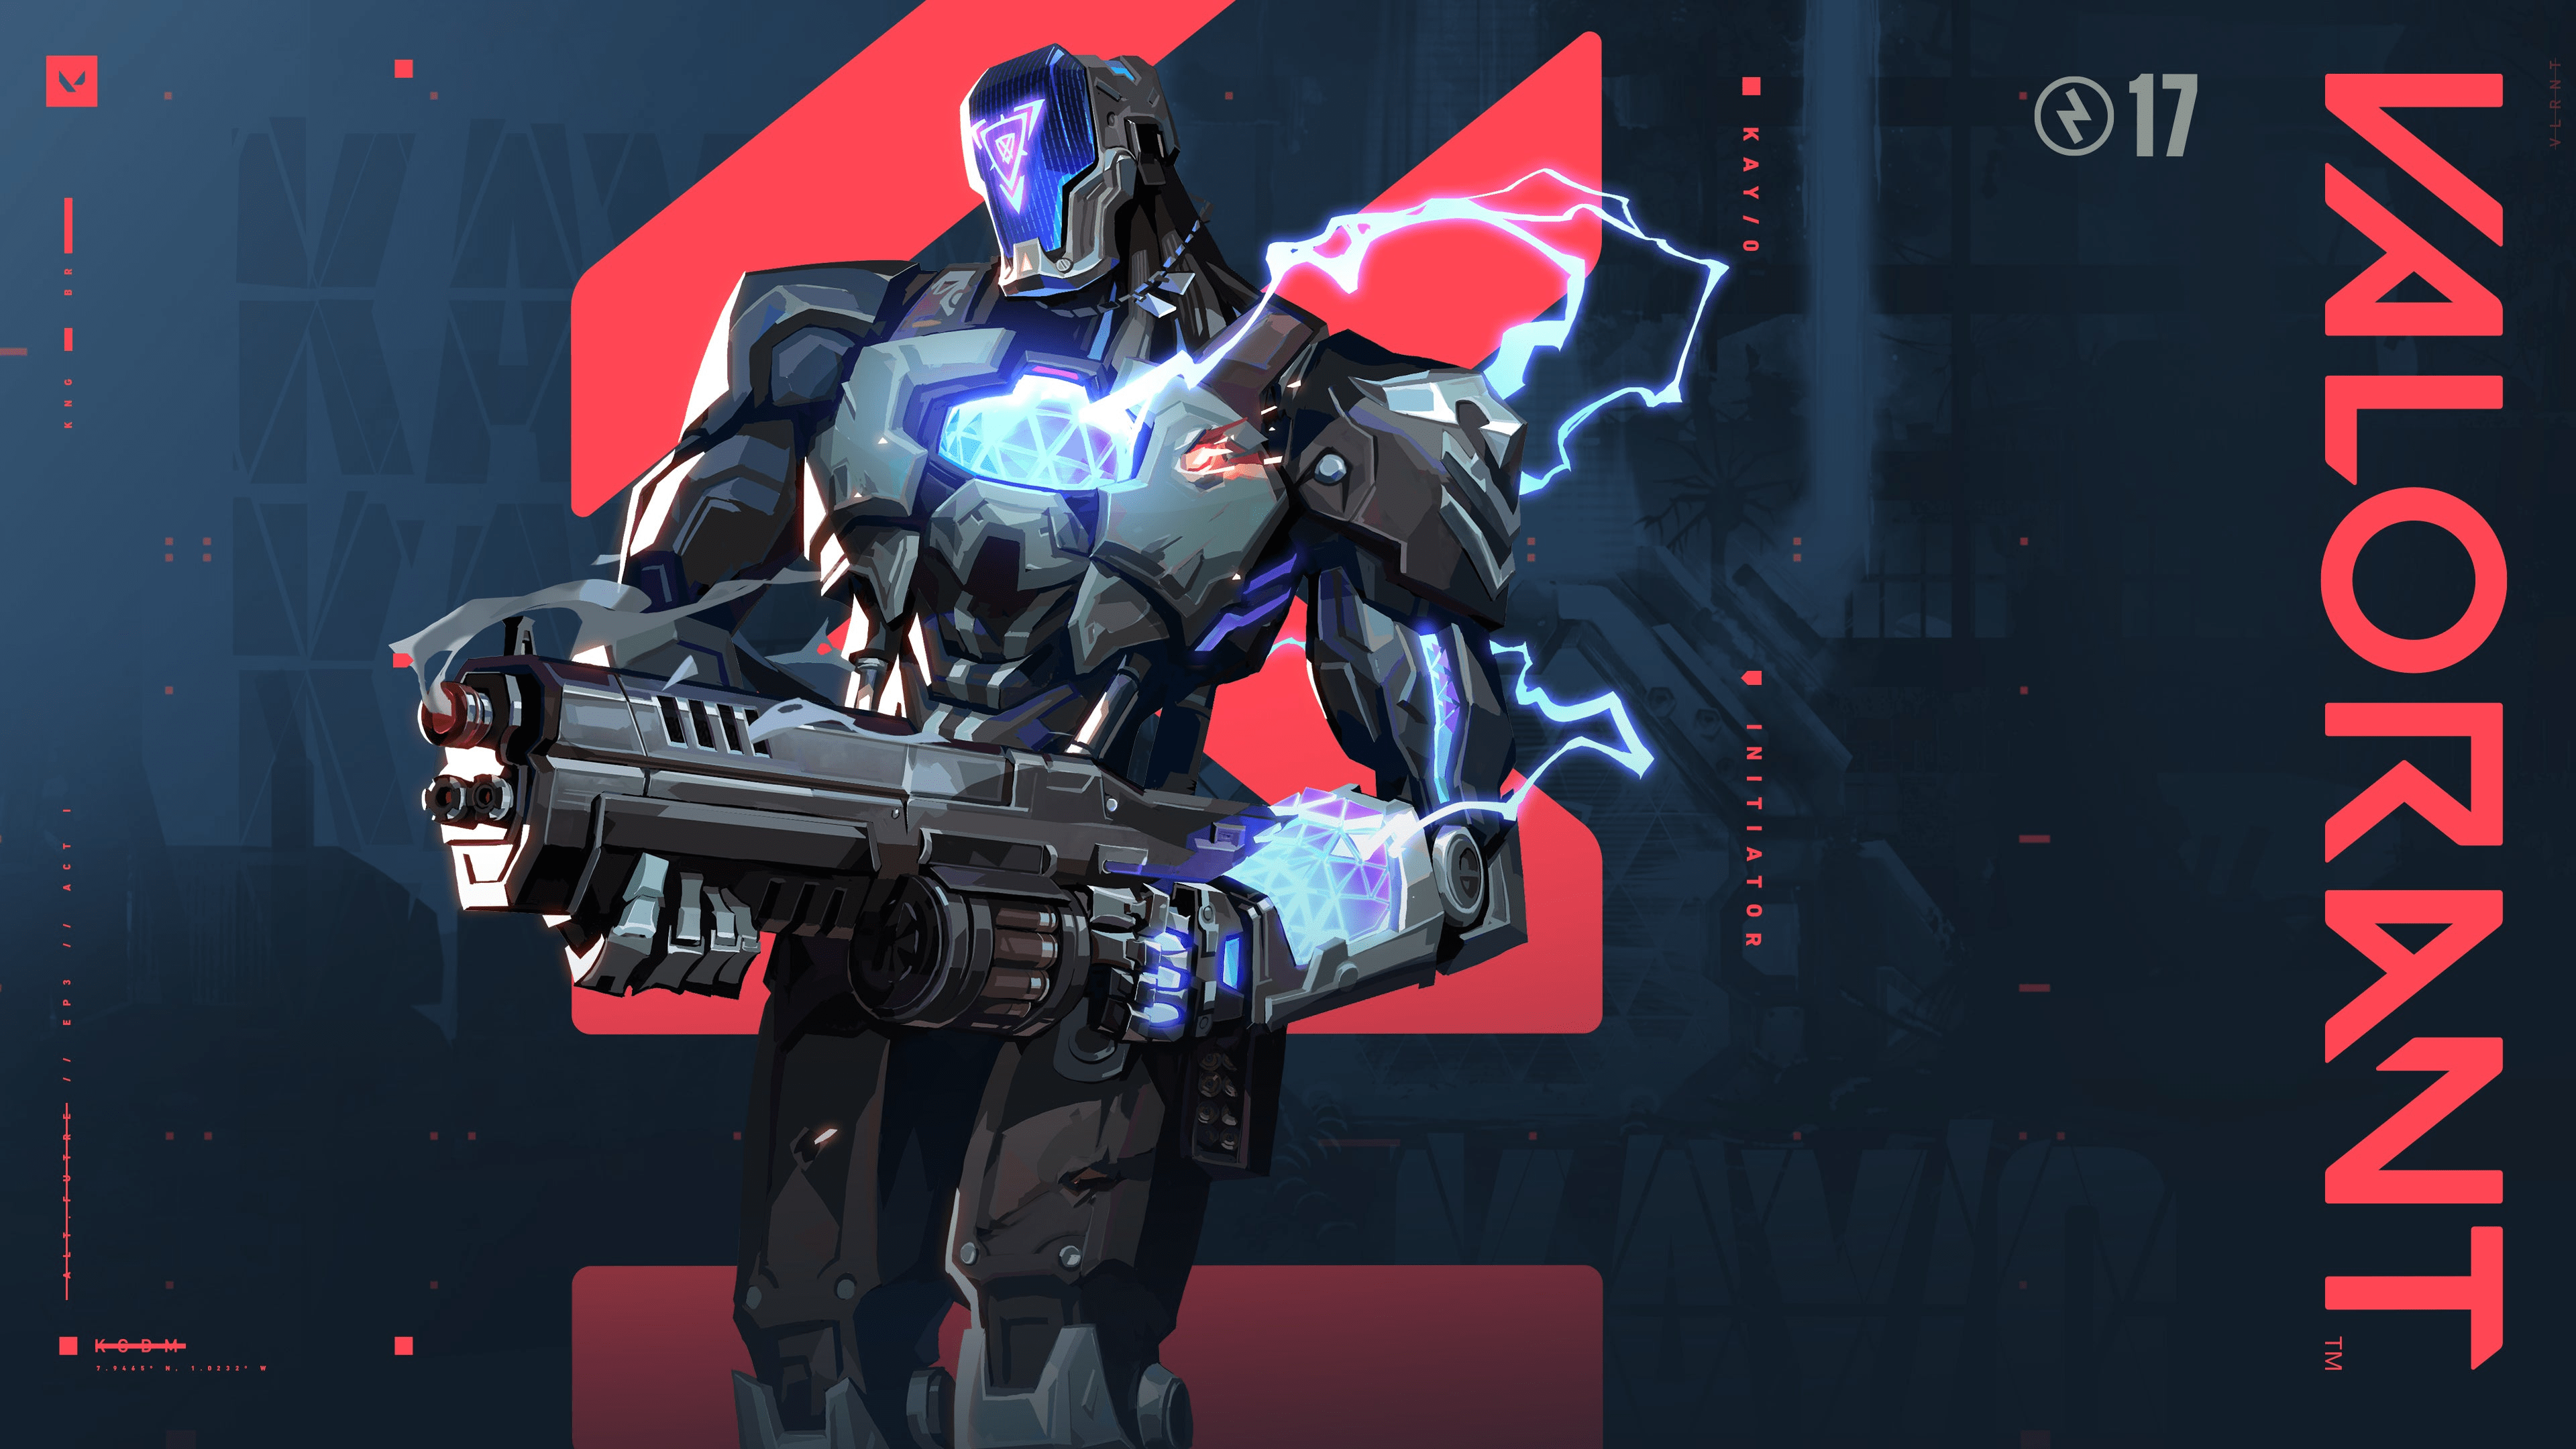
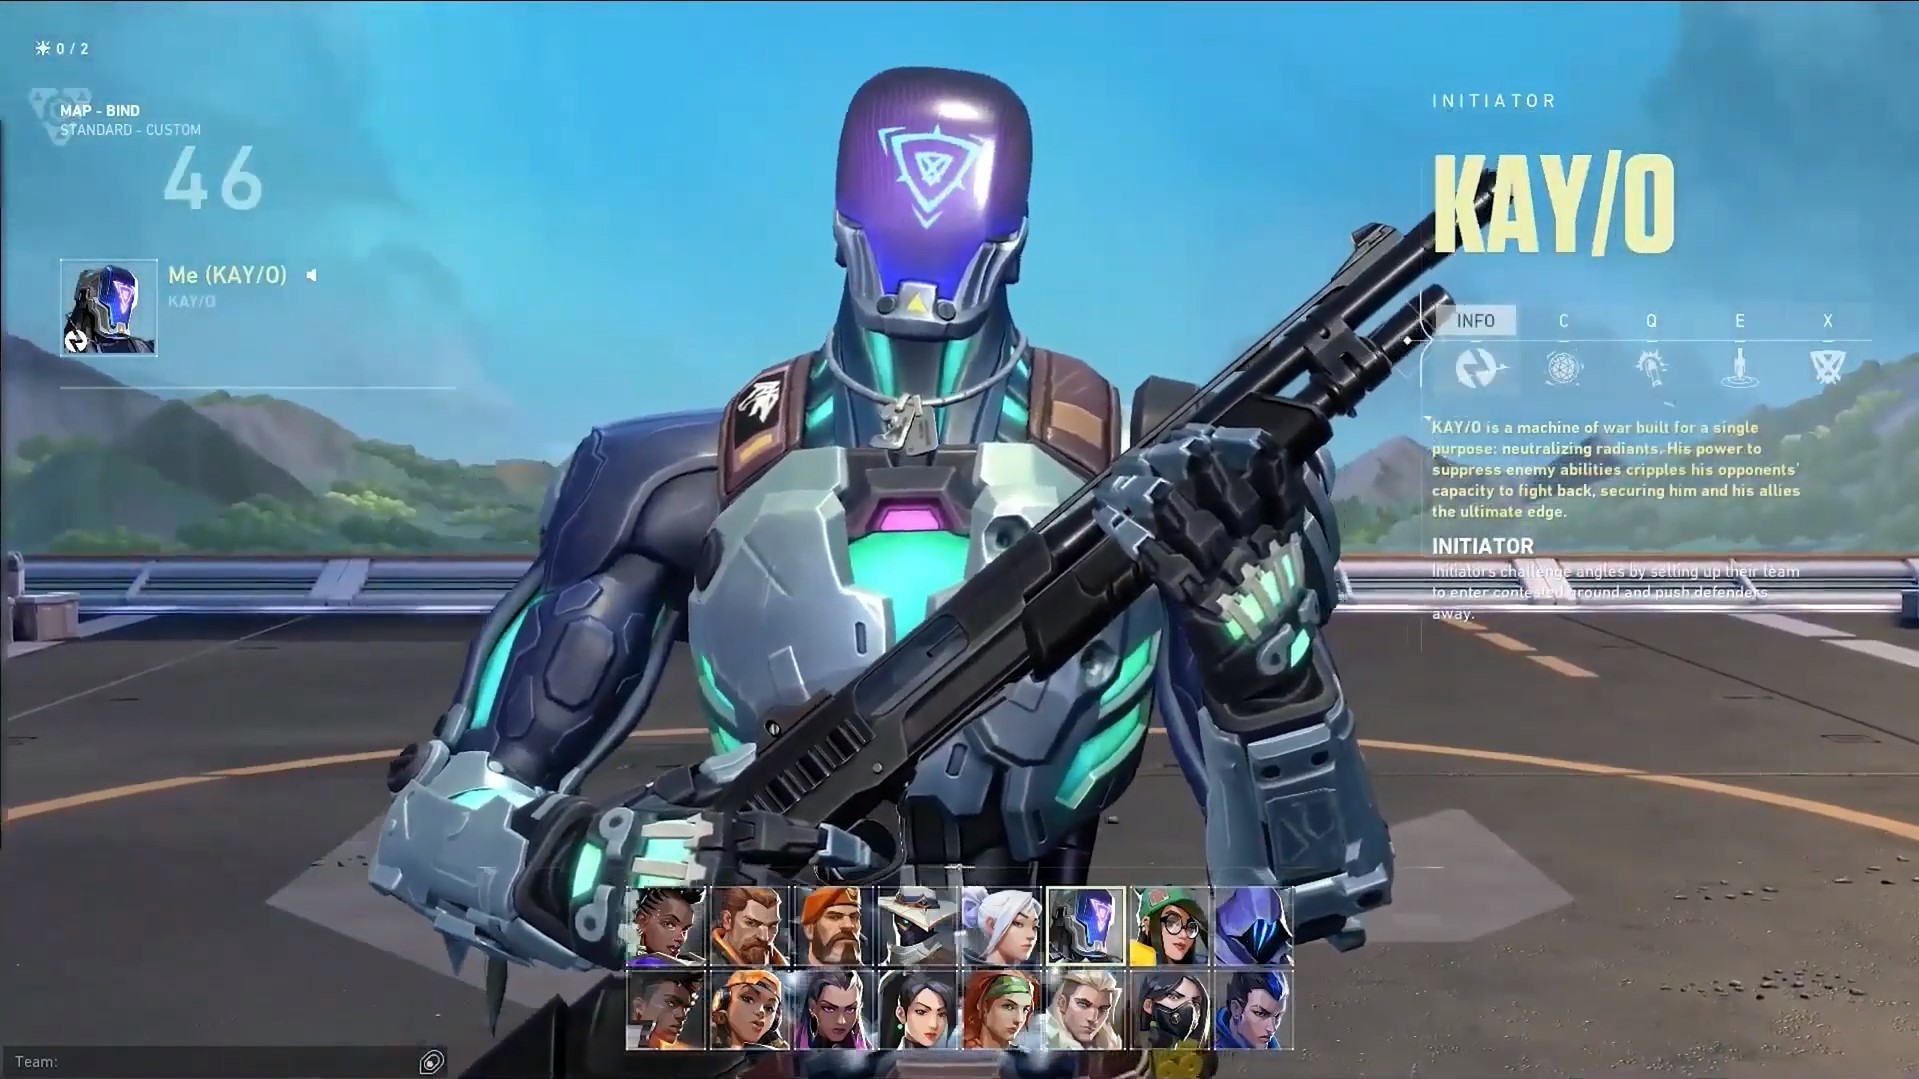
Kayo, the Turkish Initiator, offers a unique blend of crowd control and information gathering, making him a valuable asset in various Valorant scenarios. While adaptable, his abilities shine brighter on certain maps, where his unique kit synergizes effectively with the environment and common strategies. This analysis explores the maps where Kayo’s abilities offer the most strategic advantage, highlighting his strengths and how they translate into impactful gameplay.
Understanding Kayo’s Abilities
Before diving into map-specific analysis, it’s crucial to understand Kayo’s abilities and their potential applications:
- ZERO/POINT (E): Kayo’s signature ability allows him to deploy a throwable device that emits a pulse of energy, concussing enemies within its radius. This ability is highly versatile, disrupting enemy pushes, clearing corners, or even forcing enemies to relocate.
- FLASH/DRIVE (Q): This ability throws a flashbang that explodes after a short delay, blinding enemies within its radius. Kayo’s flashbang differs from others in Valorant, as it can be detonated manually, granting him greater control over its timing and positioning.
- NANOSWARM (C): This ability deploys a throwable device that unleashes a swarm of nanobots, damaging enemies within its radius. The swarm can be detonated manually, allowing Kayo to control the timing of the damage burst.
- NULL/CMD (X): Kayo’s ultimate ability creates a large radius of suppression, blocking enemy abilities and hindering their movement. This powerful tool can turn the tide of a round, denying enemy pushes and providing his team with a significant tactical advantage.
Map-Specific Analysis
1. Ascent: Kayo’s abilities shine on Ascent, a map characterized by its open areas and chokepoints. His ZERO/POINT can effectively disrupt enemy pushes through the A main or B main, forcing them to relocate or take cover. The FLASH/DRIVE is particularly useful for clearing corners or blinding enemies attempting to push through the narrow passageways. Kayo’s NANOSWARM can be used to clear out enemies hiding in the A site or the B site, while his NULL/CMD can shut down enemy pushes through the main entrances.
2. Fracture: Fracture’s unique design with its multiple vertical levels and long sightlines makes it a favorable map for Kayo. His ZERO/POINT can be used to disrupt enemy pushes through the central "H" area, while the FLASH/DRIVE can be used to clear corners or blind enemies attempting to push through the narrow passageways. Kayo’s NANOSWARM can be used to clear out enemies hiding in the A site or the B site, while his NULL/CMD can shut down enemy pushes through the main entrances.
3. Icebox: Icebox’s tight corridors and open areas provide Kayo with numerous opportunities to utilize his abilities. His ZERO/POINT can be used to disrupt enemy pushes through the A main or the B main, while the FLASH/DRIVE can be used to clear corners or blind enemies attempting to push through the narrow passageways. Kayo’s NANOSWARM can be used to clear out enemies hiding in the A site or the B site, while his NULL/CMD can shut down enemy pushes through the main entrances.
4. Split: Split’s unique layout with its two distinct sites offers various opportunities for Kayo to excel. His ZERO/POINT can be used to disrupt enemy pushes through the A main or the B main, while the FLASH/DRIVE can be used to clear corners or blind enemies attempting to push through the narrow passageways. Kayo’s NANOSWARM can be used to clear out enemies hiding in the A site or the B site, while his NULL/CMD can shut down enemy pushes through the main entrances.
5. Haven: Haven’s three sites and open areas provide Kayo with ample space to utilize his abilities. His ZERO/POINT can be used to disrupt enemy pushes through the A main or the B main, while the FLASH/DRIVE can be used to clear corners or blind enemies attempting to push through the narrow passageways. Kayo’s NANOSWARM can be used to clear out enemies hiding in the A site or the B site, while his NULL/CMD can shut down enemy pushes through the main entrances.
6. Bind: Bind’s unique teleportation system provides Kayo with opportunities to control the flow of information and disrupt enemy pushes. His ZERO/POINT can be used to disrupt enemy pushes through the A main or the B main, while the FLASH/DRIVE can be used to clear corners or blind enemies attempting to push through the narrow passageways. Kayo’s NANOSWARM can be used to clear out enemies hiding in the A site or the B site, while his NULL/CMD can shut down enemy pushes through the main entrances.
7. Pearl: Pearl’s intricate layout with its multiple levels and tight corners offers Kayo opportunities to control chokepoints and gather information. His ZERO/POINT can be used to disrupt enemy pushes through the A main or the B main, while the FLASH/DRIVE can be used to clear corners or blind enemies attempting to push through the narrow passageways. Kayo’s NANOSWARM can be used to clear out enemies hiding in the A site or the B site, while his NULL/CMD can shut down enemy pushes through the main entrances.
8. Lotus: Lotus’s unique design with its rotating doors and open areas provides Kayo with opportunities to control the flow of information and disrupt enemy pushes. His ZERO/POINT can be used to disrupt enemy pushes through the A main or the B main, while the FLASH/DRIVE can be used to clear corners or blind enemies attempting to push through the narrow passageways. Kayo’s NANOSWARM can be used to clear out enemies hiding in the A site or the B site, while his NULL/CMD can shut down enemy pushes through the main entrances.
9. Breeze: Breeze’s open areas and long sightlines make it challenging for Kayo to utilize his abilities effectively. His ZERO/POINT can be used to disrupt enemy pushes through the A main or the B main, while the FLASH/DRIVE can be used to clear corners or blind enemies attempting to push through the narrow passageways. Kayo’s NANOSWARM can be used to clear out enemies hiding in the A site or the B site, while his NULL/CMD can shut down enemy pushes through the main entrances.
10. Labyrinth: Labyrinth’s intricate layout with its multiple levels and tight corners offers Kayo opportunities to control chokepoints and gather information. His ZERO/POINT can be used to disrupt enemy pushes through the A main or the B main, while the FLASH/DRIVE can be used to clear corners or blind enemies attempting to push through the narrow passageways. Kayo’s NANOSWARM can be used to clear out enemies hiding in the A site or the B site, while his NULL/CMD can shut down enemy pushes through the main entrances.
FAQs: Kayo and Map Strengths
Q: Why is Kayo less effective on Breeze?
A: Breeze’s open areas and long sightlines make it difficult for Kayo to effectively utilize his abilities, especially his ZERO/POINT and NANOSWARM. The open nature of the map reduces the effectiveness of his crowd control abilities, while the long sightlines make it challenging to effectively utilize his FLASH/DRIVE.
Q: How does Kayo’s kit benefit from Split’s design?
A: Split’s two distinct sites and narrow passageways allow Kayo to effectively use his ZERO/POINT and FLASH/DRIVE to disrupt enemy pushes and gather information. His NANOSWARM can also be utilized effectively to clear out enemies hiding in the A or B sites, while his NULL/CMD can shut down enemy pushes through the main entrances.
Q: Can Kayo’s abilities be used to counter specific agents?
A: Yes, Kayo’s abilities can be used to counter specific agents. His ZERO/POINT can disrupt the abilities of agents like Cypher, Killjoy, and Sage, while his FLASH/DRIVE can be used to counter agents like Jett, Phoenix, and Reyna.
Tips: Optimizing Kayo’s Abilities on Different Maps
- Utilize Kayo’s ZERO/POINT to disrupt enemy pushes through chokepoints and narrow passageways.
- Use Kayo’s FLASH/DRIVE to clear corners, blind enemies, and provide your team with crucial information.
- Deploy Kayo’s NANOSWARM to clear out enemies hiding in tight spaces or to deny them access to certain areas.
- Use Kayo’s NULL/CMD to shut down enemy pushes, deny them access to sites, and give your team a tactical advantage.
- Practice throwing Kayo’s abilities with precision and accuracy to maximize their impact.
Conclusion: Kayo’s Strategic Value
Kayo’s unique abilities make him a valuable asset in various Valorant scenarios, but his strengths are amplified on maps where his kit synergizes effectively with the environment and common strategies. His ability to disrupt enemy pushes, gather information, and control the flow of the game makes him a potent force on maps like Ascent, Fracture, Icebox, Split, Haven, Bind, Pearl, Lotus, Labyrinth, and even Breeze when used strategically. Understanding the nuances of each map and how Kayo’s abilities can be utilized to maximum effect is crucial for mastering this versatile Initiator.


Closure
Thus, we hope this article has provided valuable insights into Kayo: A Comprehensive Analysis of Agent Strengths Across Valorant Maps. We appreciate your attention to our article. See you in our next article!