Navigating the Battleground: A Comprehensive Guide to Warzone 2’s Key Locations
Related Articles: Navigating the Battleground: A Comprehensive Guide to Warzone 2’s Key Locations
Introduction
In this auspicious occasion, we are delighted to delve into the intriguing topic related to Navigating the Battleground: A Comprehensive Guide to Warzone 2’s Key Locations. Let’s weave interesting information and offer fresh perspectives to the readers.
Table of Content
Navigating the Battleground: A Comprehensive Guide to Warzone 2’s Key Locations
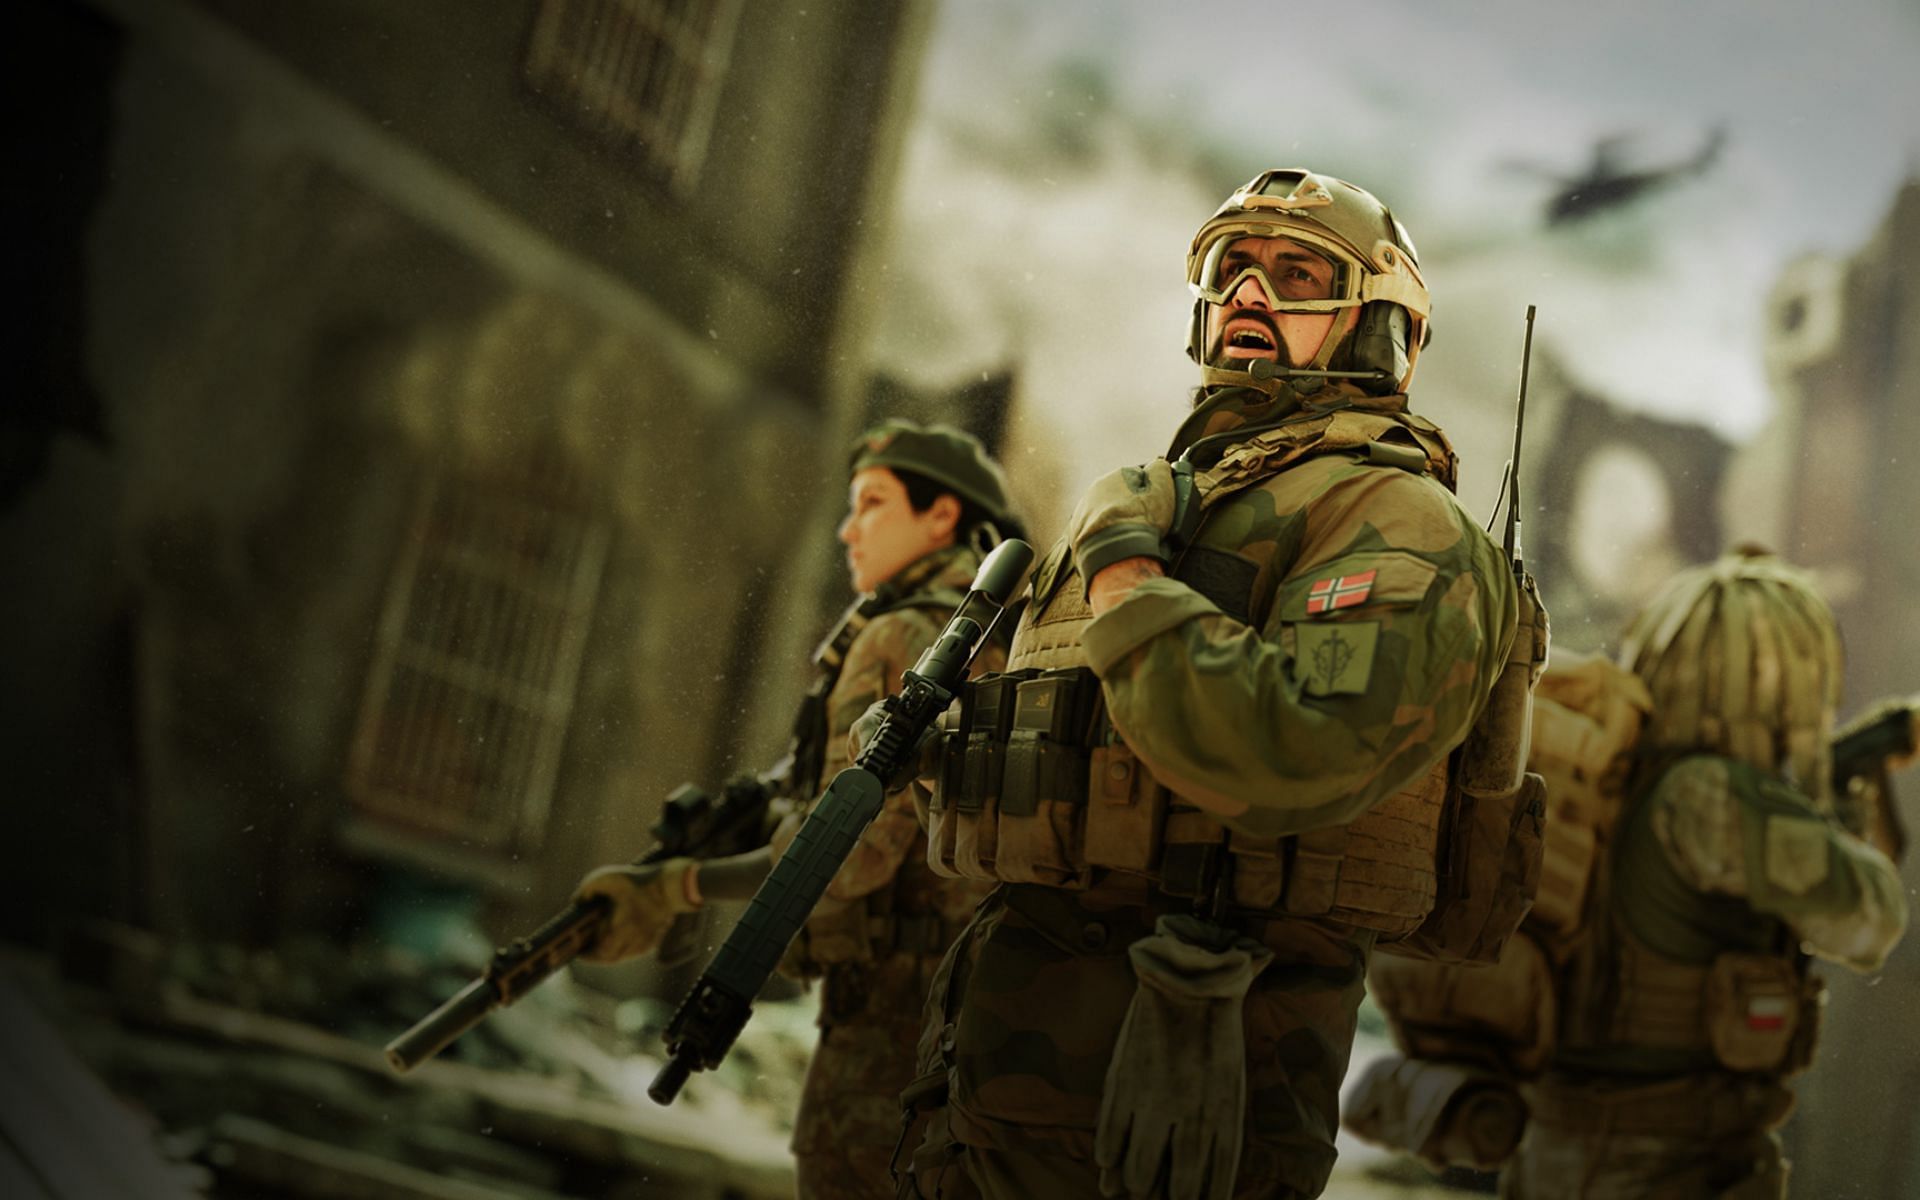
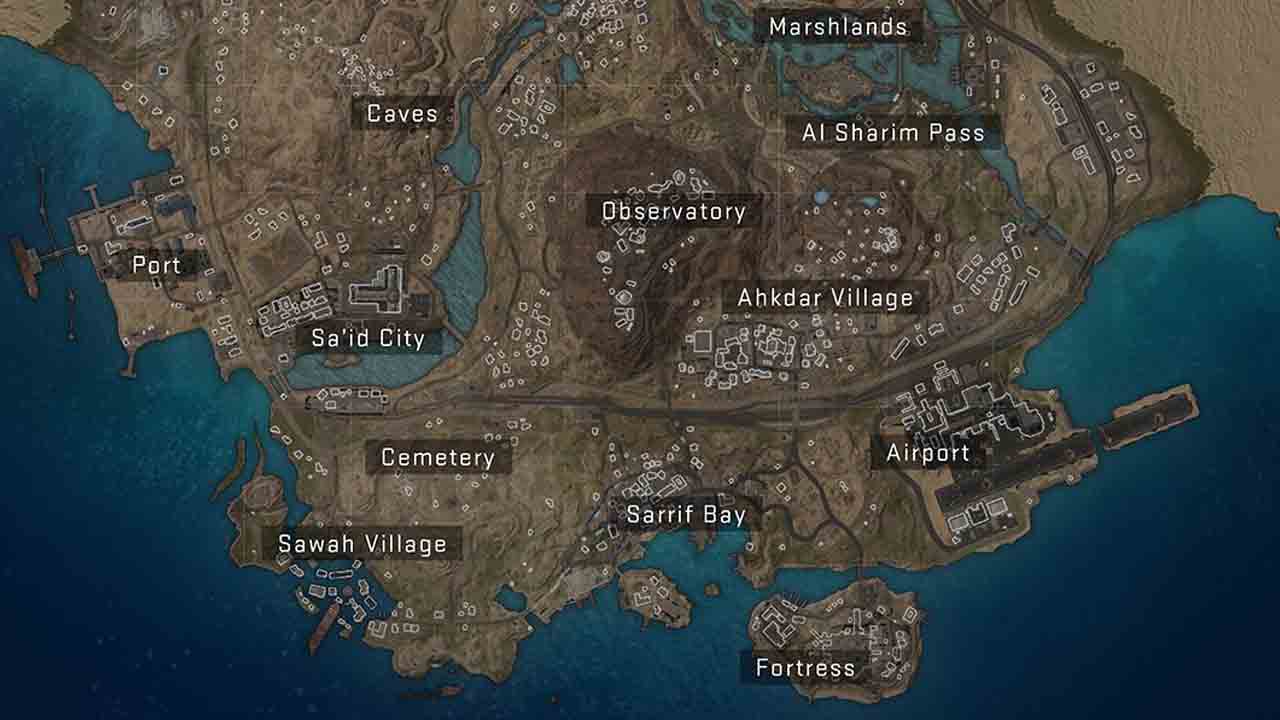
Warzone 2, the highly anticipated sequel to the battle royale phenomenon, introduces a vast and intricate map known as Al Mazrah. This sprawling landscape, encompassing diverse biomes and teeming with strategic points of interest, presents players with a dynamic and challenging battleground. Understanding the key locations within Al Mazrah is crucial for success, allowing players to effectively navigate, engage in combat, and ultimately achieve victory.
Al Mazrah: A Landscape of Opportunity and Danger
Al Mazrah, the primary battleground of Warzone 2, is a meticulously crafted map that seamlessly blends urban environments with rugged desert landscapes. This diversity creates a rich tapestry of tactical possibilities, offering players a multitude of approaches and strategies.
Key Locations: The Pillars of Strategy
Within Al Mazrah, certain locations stand out as pivotal points of interest, offering strategic advantages and influencing the flow of the match. These key locations can be categorized based on their primary function and the opportunities they present:
1. Urban Centers: Hubs of Action and Conflict
- Al-Bagra Fortress: This ancient fortress, perched atop a hill overlooking the surrounding desert, offers commanding views and strategic high ground. Its fortified walls provide cover and vantage points for snipers and long-range engagements.
- Hydroelectric Dam: This imposing structure, nestled within a mountainous region, offers a wealth of cover and verticality. The dam’s interior provides close-quarters combat opportunities, while its exterior offers opportunities for flanking maneuvers.
- Airport: A bustling hub of activity, the airport offers a mixture of open spaces and enclosed buildings. Its numerous hangars and terminals provide cover and strategic points for engagements.
- City Center: The bustling heart of Al Mazrah, the city center offers a dense urban environment with a variety of buildings, alleyways, and rooftops. This location is ideal for close-quarters combat and flanking maneuvers.
2. Rural Outposts: Vantage Points and Strategic Positions
- Taraq: This sprawling desert town offers a mixture of open spaces and enclosed buildings, making it ideal for both long-range and close-quarters engagements. Its central mosque provides a dominant vantage point, while its surrounding streets offer opportunities for flanking maneuvers.
- Observatory: Perched atop a mountain, the observatory provides unparalleled views of the surrounding landscape. Its high ground offers a strategic advantage for snipers and long-range engagements.
- Strongholds: These fortified outposts, scattered across the map, offer a unique challenge and reward. Players can choose to assault a stronghold, battling AI defenders for valuable loot and resources.
3. Natural Landmarks: Opportunities for Ambush and Escape
- Desert Oasis: This serene oasis, nestled amidst the arid landscape, offers a respite from the harsh desert environment. Its lush vegetation provides natural cover and concealment, making it an ideal location for ambushes and flanking maneuvers.
- Mountain Range: The rugged mountain range that traverses the map offers a variety of terrain, from steep cliffs to narrow passes. Its natural barriers provide cover and concealment, making it an ideal location for defensive positions and strategic flanking maneuvers.
- Waterways: The rivers and canals that crisscross Al Mazrah provide opportunities for both transportation and strategic positioning. Players can use boats to navigate the waterways, gaining a unique perspective and potentially outmaneuvering opponents.
Navigating the Battleground: Tips for Effective Play
- Know the Map: Familiarity with Al Mazrah’s layout is paramount for success. Utilize the map’s various features, including its elevation changes, to your advantage.
- Utilize Key Locations: Identify and leverage the strategic benefits offered by key locations. Secure vantage points, create defensive positions, and use the environment to your advantage.
- Adapt to the Situation: The dynamic nature of Warzone 2 requires adaptability. Be prepared to adjust your strategy based on the unfolding match and the actions of your opponents.
- Communicate with Your Team: Effective communication is crucial for coordinating strategies and maximizing team effectiveness.
- Explore and Experiment: Al Mazrah offers a wealth of opportunities for exploration and experimentation. Discover new routes, identify hidden spots, and refine your strategies.
Understanding the Importance of Key Locations
The key locations within Al Mazrah are not merely points of interest; they represent the backbone of strategic gameplay. Their unique characteristics and strategic advantages influence the flow of the match, dictating player movement, engagement patterns, and ultimately, the outcome of the battle royale.
FAQs: Addressing Common Questions
Q: Which location is best for beginners?
A: For beginners, Taraq is a good starting point. Its mix of open spaces and enclosed buildings offers a balance of engagement options, allowing players to gradually acclimate to the map’s dynamics.
Q: Which location offers the best vantage point?
A: The Observatory, perched atop a mountain, provides unparalleled views of the surrounding landscape, making it ideal for snipers and long-range engagements.
Q: Which location is best for close-quarters combat?
A: The city center, with its dense urban environment, offers a variety of buildings, alleyways, and rooftops, making it a prime location for close-quarters combat and flanking maneuvers.
Q: How do I approach a stronghold?
A: Strongholds are fortified outposts guarded by AI defenders. Players can choose to assault a stronghold, battling the defenders for valuable loot and resources. However, this is a challenging task, requiring careful planning and coordination.
Q: What is the best way to utilize the waterways?
A: The rivers and canals that crisscross Al Mazrah can be used for both transportation and strategic positioning. Players can use boats to navigate the waterways, gaining a unique perspective and potentially outmaneuvering opponents.
Conclusion: Mastering the Battleground
Understanding the key locations within Al Mazrah is essential for success in Warzone 2. By leveraging their strategic advantages, adapting to the dynamic environment, and collaborating with teammates, players can navigate this intricate battleground, outmaneuver opponents, and emerge victorious. The map’s diverse landscape and strategic points of interest create a thrilling and challenging experience, rewarding players who master its intricacies and embrace the unpredictable nature of battle royale.


Closure
Thus, we hope this article has provided valuable insights into Navigating the Battleground: A Comprehensive Guide to Warzone 2’s Key Locations. We appreciate your attention to our article. See you in our next article!